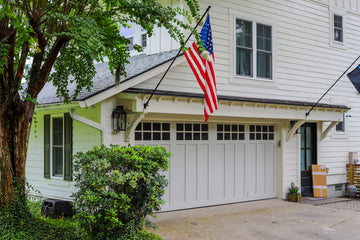
DURALOK VINYL EXTERIOR SHUTTERS
HOW TO INSTALL VINYL SHUTTERS
Installing vinyl shutters is incredibly straightforward due to their lightweight and simple design. With their easy-to-follow instructions and minimal hardware requirements, homeowners can swiftly install vinyl shutters without the need for specialized tools or extensive expertise, making it a hassle-free DIY project for enhancing curb appeal
Required for Installation
- ✓ Power Drill (If drilling into masonry - a hammer drill may be necessary)
- ✓ 1/4” Drill Bit (for SHUTTER-LOKS)
- ✓ 11/64” Drill Bit (for SCREWS)
- ✓ Hammer
- ✓ Phillips Head Screwdriver
- ✓ Measuring tape
- ✓ Pencil or Marker
- ✓ Shutter-Lok or screws
FOR USE ON SURFACES INCLUDING:
- Aluminum
- Brick
- Hardboard
- Masonry
- Stucco
- Vinyl
- Wood
- And more!
STEPS TO INSTALL SHUTTERS
Step 1:
Prepare to locate screw holes by laying the shutter face DOWN on a clean, flat surface. Use illustration shown as a suggestion for ideal placement of shutter-lok or screws.
STEP 2:
Drill hole through the back of the shutter at the suggested ideal placement locations.
STEP 3:
Position the shutter on the house next to the window. Using a pencil or marker to mark the mounting hole locations on the building.
STEP 4:
Remove the shutter and where marked drill a 1/4” diameter hole (for shutter-loks) or 11/64” diameter hole (for screws) through the surface of the building to a depth of 3-1/4".
STEP 5:
Position the shutter on the house next to the window and gently tap the shutter spike with a hammer (or) drive in the screw, using a hand screwdriver, so as not to over drive or over-tighten.
